Creating a sensory path for your child
A sensory path is a creative and engaging way to support your child’s development while providing a fun and interactive way to learn. Whether you’re a parent, teacher, or caregiver, setting up a sensory path can offer heaps of benefits for our kids whatever their ability or stage of development.
Sensory paths are designed to stimulate a child’s senses and promote various skills essential for their overall development. Some of the key skills and benefits you can work on include:
Sensory integration: A sensory path provides opportunities for children to engage with different sensory stimuli, such as tactile, visual, auditory, and proprioceptive input. This helps in improving sensory processing and integration skills.
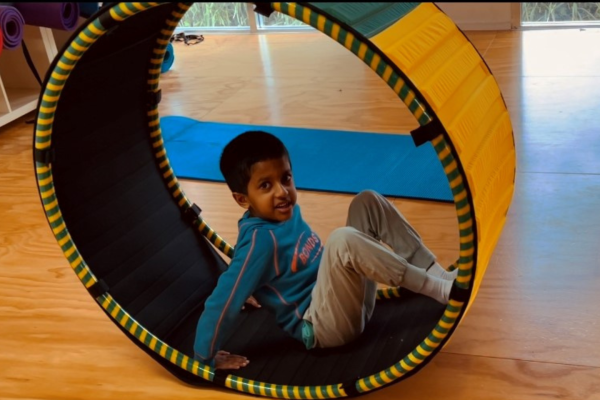
Motor skills: By navigating through the path, children can enhance their gross motor skills (like jumping, hopping, and balancing) and fine motor skills (such as picking up objects or tracing patterns).
Focus and attention: The structured layout of a sensory path encourages children to focus on specific tasks and follow directions, supporting attention and concentration development.
Self-regulation: Engaging in sensory activities can help children regulate their emotions and behaviour, promoting self-calming strategies and reducing stress or anxiety.
Creativity and imagination: Sensory paths can incorporate imaginative elements like themed designs or storytelling prompts, fostering creativity and imaginative play.
What You’ll Need
Creating a sensory path doesn’t require fancy equipment and you don’t have to go all out and break the budget. Here’s a list of basic supplies you’ll need to get started:
Space: Identify a suitable area for your sensory path, such as a hallway, playground, or indoor playroom. Make sure the space is safe and accessible for children.
Floor markings: Use coloured tape, chalk, or stencils to create pathways, shapes, and interactive stations on the floor. You can include activities like hopscotch, zig-zag lines, balance beams, and footprints.
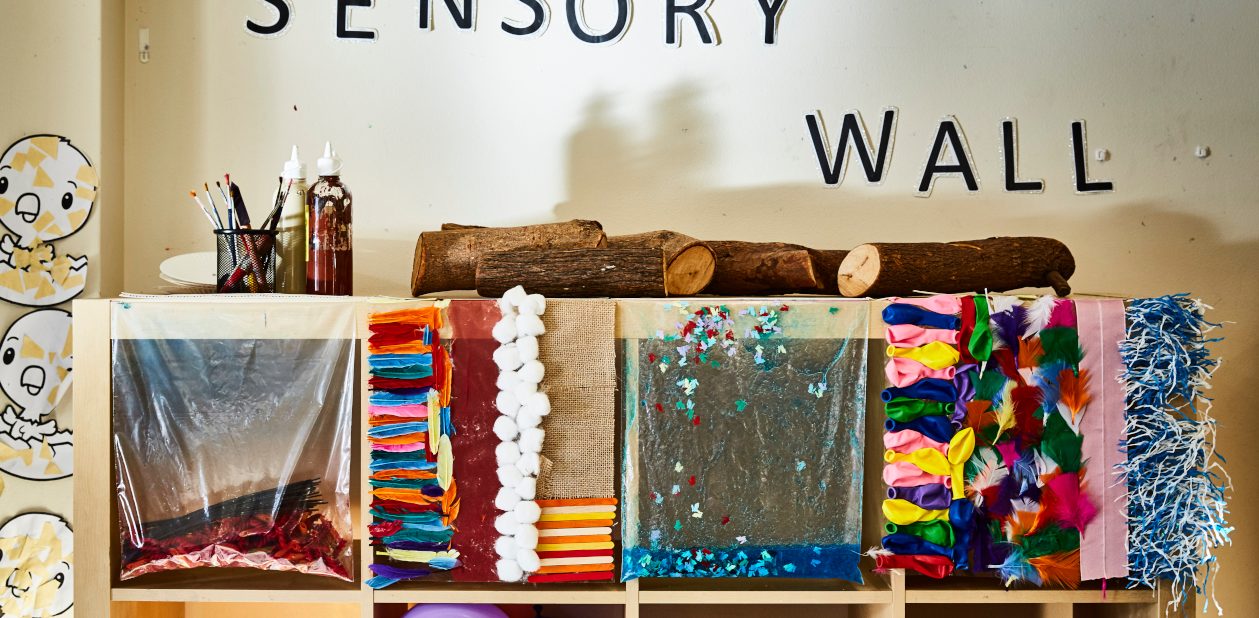
Sensory stations: Incorporate sensory stations along the path, such as sensory bins filled with materials like sand, rice, or textured fabrics. Include sensory boards with different textures, shapes, and objects to touch and explore. Think about the time of year and season if you want to set a theme, or focus on your child’s areas of interest.
Visual elements: If you’re thinking of creating a permanent installation, why not add visual stimulation with colourful posters, murals, or wall decals depicting nature scenes, animals, numbers, letters, or shapes.
Props and tools: Gather props like bean bags, balls, cones, hoops, and stepping stones to create interactive challenges and activities. Include tools like timers, bells, or musical instruments for auditory stimulation.
Once you have your supplies, you’re ready to get creative!:
Plan the layout: Sketch out a plan for your sensory path, including the placement of floor markings, sensory stations, and visual elements. Consider the flow of activities and ensure there’s enough space for children to move around comfortably.
Prep the space: Clean and clear the designated area for the sensory path. Remove any obstacles or hazards that could interfere with the activities.
Create floor markings: Use tape or chalk to create the pathways and activity stations on the floor. Be creative with designs and colours to make it visually appealing and engaging.
Set up sensory stations: Place sensory bins, boards, and other sensory materials along the path. Label each station with instructions or prompts for children to follow.
Add visual elements: If appropriate decorate the walls or surroundings with posters, pictures, or themed decorations related to the sensory path’s theme. Use visual cues to guide children through the activities.
Rotate and refresh: Periodically update and change the sensory path layout to keep it fresh and exciting. Rotate sensory materials, add new challenges, or adjust the theme to maintain your child’s interest.


